• Nails | NYE Supernova •

• Nails | NYE Supernova •

3.jpg

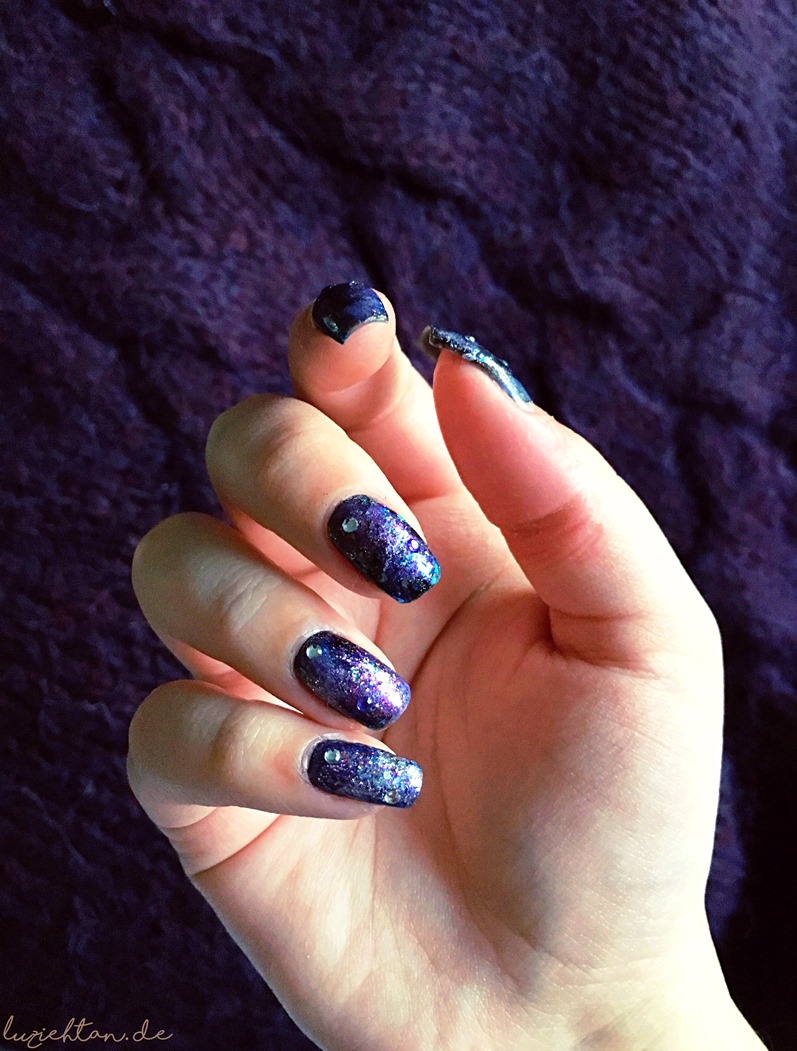
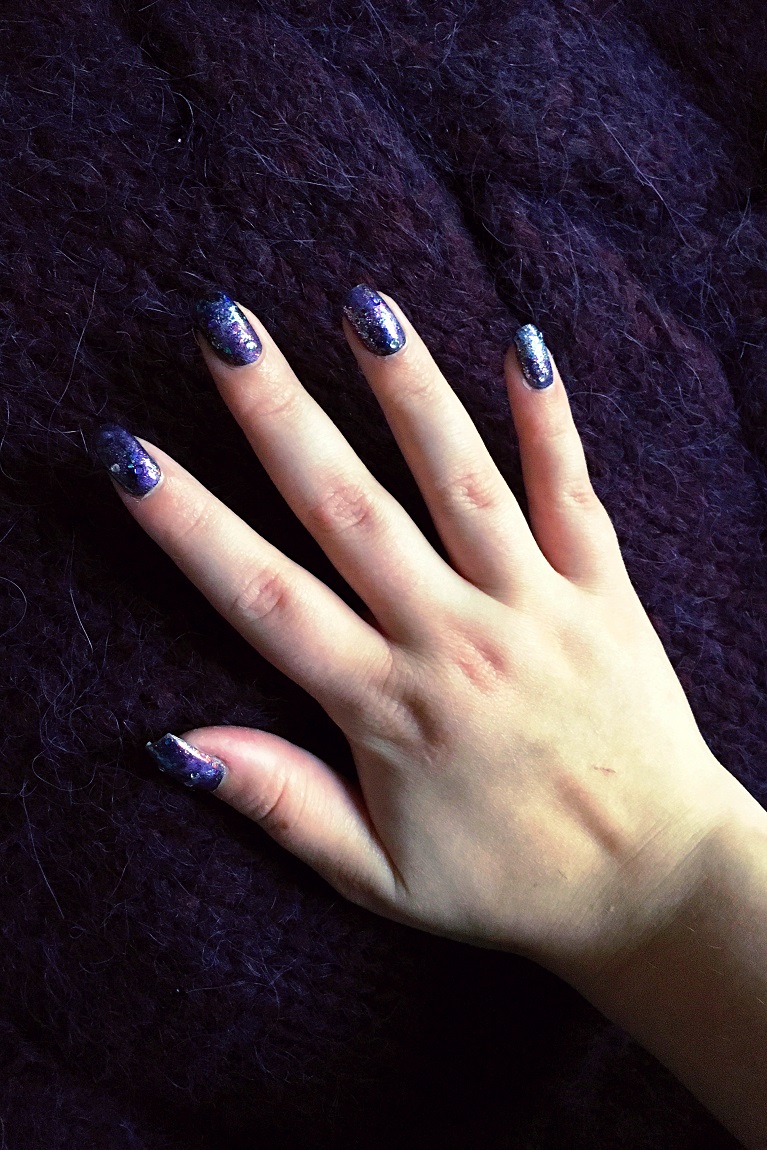
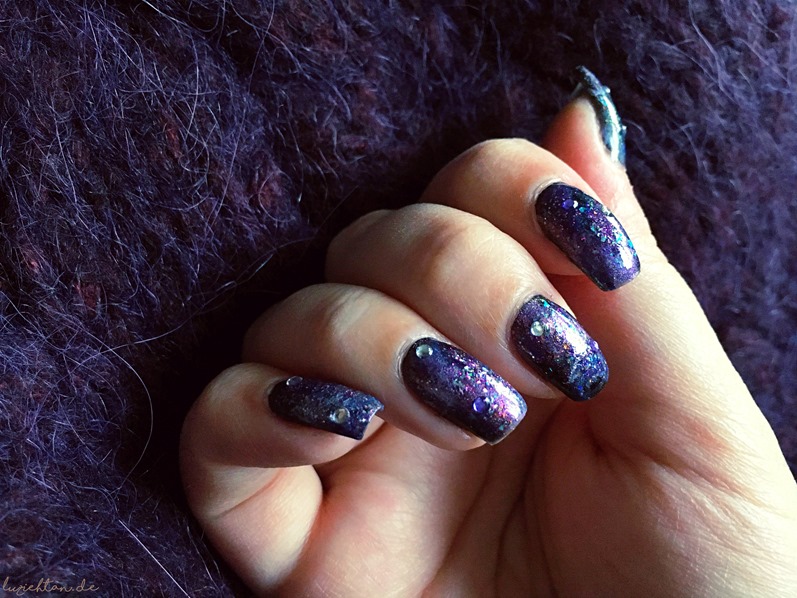
This year’s New Year’s Eve nails were a mixture of something old and something new. You might remember my → Space Nails, this time I wanted to create sparkling supernovas on my nails. That’s why I went for the good old Space Nail system and added little rhinestones for that special look. What came out is this great manicure, which just can’t be photographed in all its beauty, but I hope you can at least imagine how amazing this purple-blue-red-and-green (depending on the light, it keeps changing its colors) galaxy sparkles and glitters on my nails…

Starting with black (clockwise): ANNY “Jet Black” • OPI “DS Original” • Nfu•Oh “51” • ANNY “Vintage Home” • essie “Bond with Whomever” • essie “No Place Like Chrome” • ANNY “Timeless Love” • essie “Sparkle on Top” • OPI “Show It and Glow It!” | Base coat: essie “Fill the Gap!” • Top coat: essie “Good to Go”

• Nails | Subtle Color French •

• Nails | Subtle Color French •

1

DEen-2BR

I guess nail art got me at last. At the moment, I’m in the mood for creating something a little more special on my nails and this is the result of my last mani – a colored “French” mani, but very subtle thanks to different shades of orange. I went for an almost red orange and a brighter one, and I’m pretty sure you don’t need a “how to”, but just in case:

1 • Apply one coat of your favorite base coat (essie “Millionails”).
2 • Apply two coats of the darker color (
Givenchy Le Vernis “Croisière Mat Orange”).
3 • Apply the lighter color to your nail tips (
ANNY “Summertime”).
4 • Apply one coat of your favorite top coat (
essie “Good To Go”).

2

• Nails | Dotted Nude •

• Nails | Dotted Nude •

2

DEen-2BR

It’s been some time since I last showed you my latest manicure on the blog – let’s bring the nails back here! :) For this new start, I’ve got something more special for you. Nail art isn’t really my thing, but I totally like simple designs. Today’s mani is all about nude and white, with a dotted stripe. It’s quickly made in a few steps:

1 • Apply your favorite base coat – I’m using butter London’s “Nail Foundation” – and let it dry.
2 • Stick on a very narrow nail tape vertically in the middle of each nail.
3 • Apply two coats of nail polish – mine is → “Topless & Barefoot” from essie – and let it dry for about 15 minutes.
4 • Carefully remove the tape.
5 • Apply one coat of clear nail polish (or top coat).
6 • Use a dotting tool (or e.g. the point of an old ballpoint) to apply little white dots along the clear line and let it dry for another 5 minutes.
7 • Apply your favorite top coat – I went for essie’s “Good To Go” and have fun with your fresh mani! :)

1